How to Download and Install Dev C++ Compiler
For Complete YouTube Video: Click Here
Table of Contents
What do you learn in this class?
In this class, we will learn How to Download and Install Dev C++ Compiler. The download and installation procedure is shown pictorially.
Detailed Explanation
Here is the step by step process to Download and Install Dev C++ Compiler
Step 1:
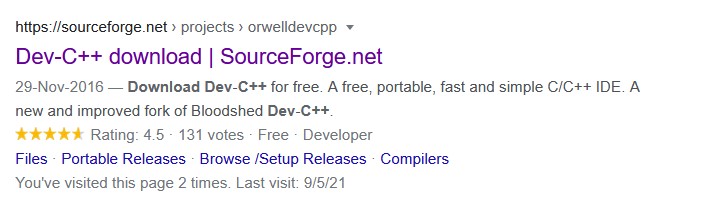
Open google.com in the browser. Search for Dev C++ download as shown in the image below.

Step 2:
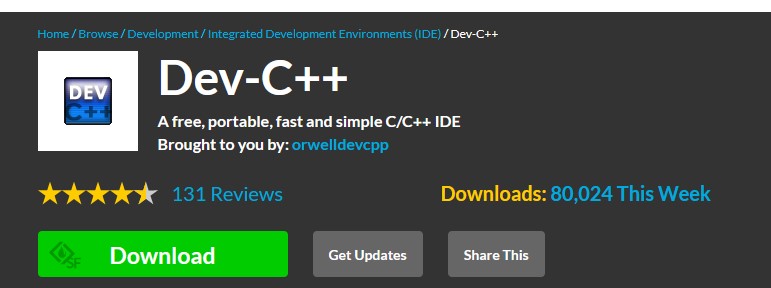
Click on the link as shown below.
Step 3:
Click on the Download button as shown in the image below.
Step 4:
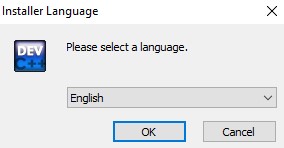
Now double click on the downloaded file and proceed with the installation as shown in the images below.
Click on OK.
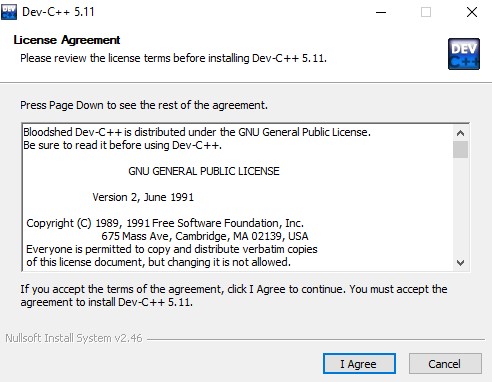
Click on I Agree.
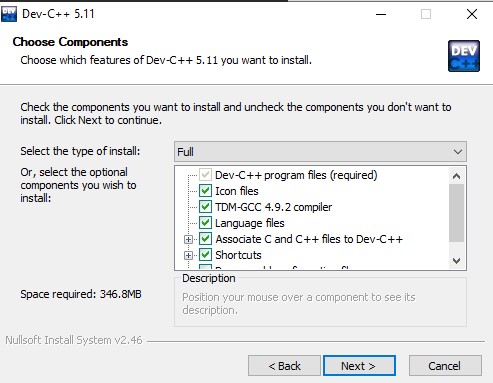
Click on Next.
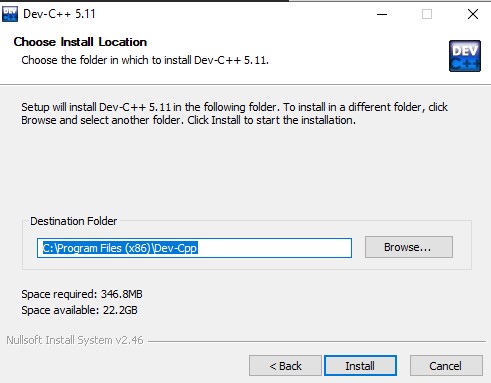
Click on Install.
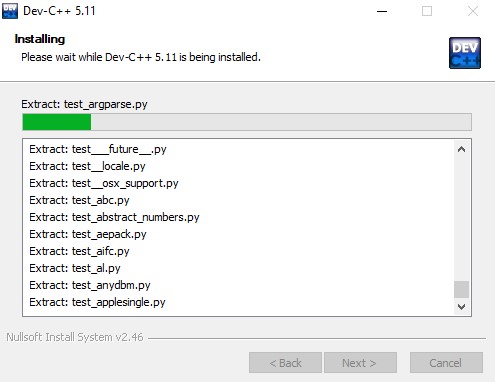
This is how it looks during installation.
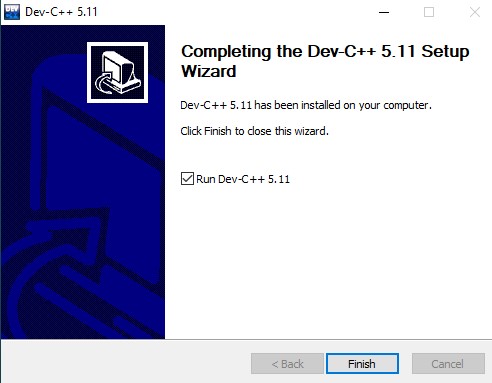
Click on Finish.
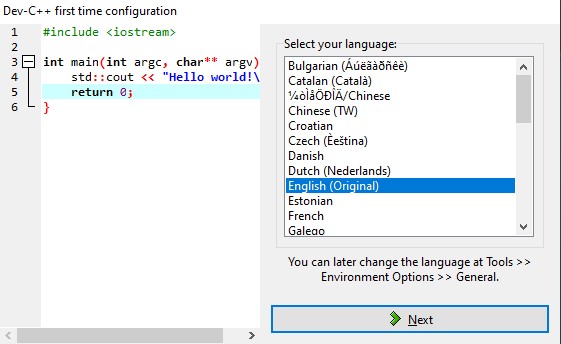
After clicking on the finish we will be prompted with a configuration wizard as shown below. Now click on next.
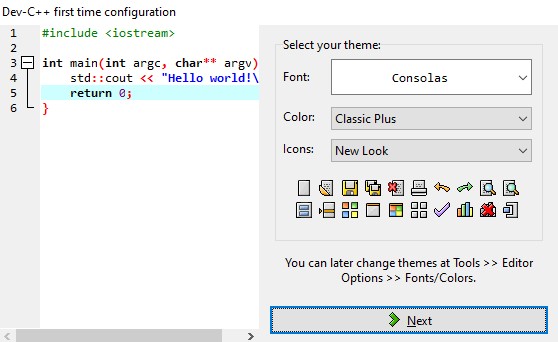
Click on Next.
Click on OK.
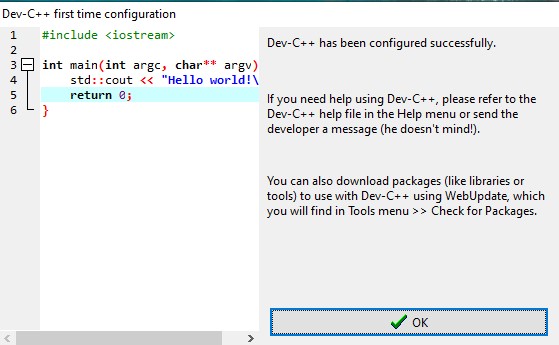
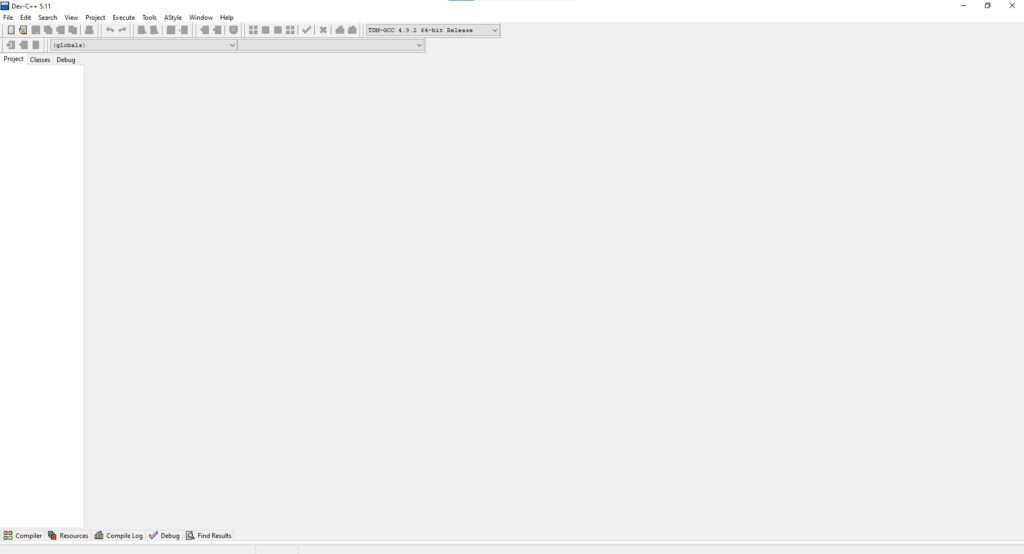
Now the installation is completed and the editor will be opened as shown in the image below.